Materials & Supplies
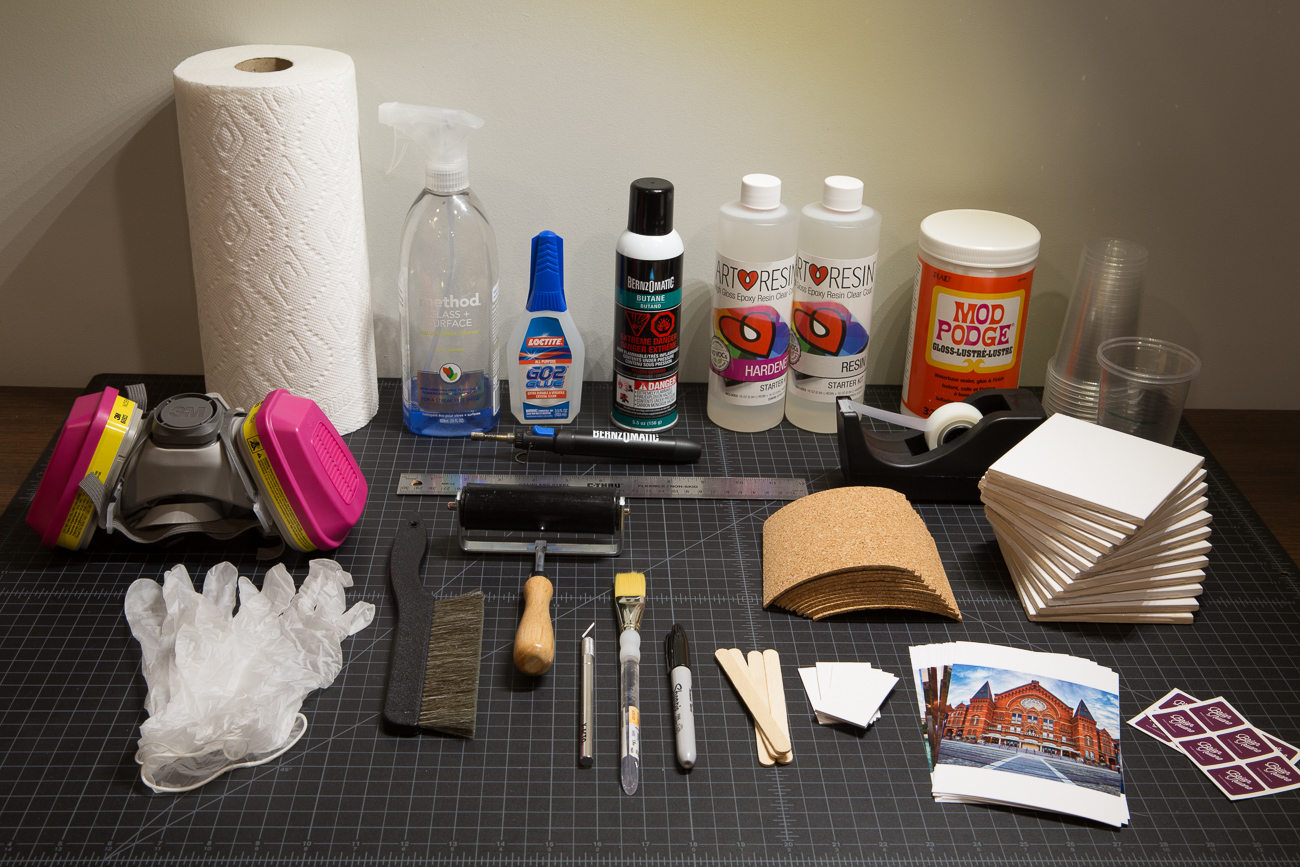
- 4.25”x4.25” ceramic tiles
- ArtResin
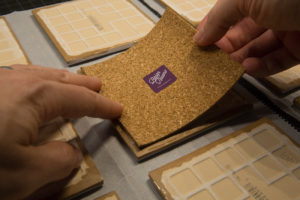
- 4”x4” cork ~1/8” thick – (or cut your own from a 24″x48″ roll)
- 4″x6″ Photo Paper – high-gloss (Canon, Epson, or HP)
- 3/4” roll of Scotch Magic Tape and weighted tape dispenser
- Disposable Clear Plastic Cups
- Wooden popsicle sticks
- Mod Podge
- 3/4” Glue Brush
- 4” Roller Brayer
- Latex-free, powder-free Vinyl Gloves
- Glass or All-Purpose Surface Cleaner
- Refillable Butane Pen Torch and Butane fuel
- Loctite Go2Glue – Shock, water, and temperature resistant
- Vapor Mask and Filters
- Knife or X-Acto blade
- Anti-static Brush
- Permanent Marker or pen
- Paper towels
- Parchment paper
- Cardboard box or surface to catch resin drips
- Three+ 1”x2” strips of matte board
The Coaster Making Process
Step 1: Print photos.
Step 2: Prepare ceramic tile bottoms with tape
Step 3: Clean the top surface of the ceramic tiles.
Step 4: Apply thin layer of clear-drying acrylic decoupage glue.
Step 5: Place photo on glued surface.
Step 6: Remove excess glue on the edges of the photo after rolling.
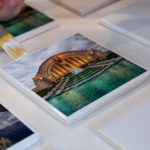 This will save time later when trying to eliminate bubbles in the Resin process. With your 1” brush, carefully go around the edges of the photo and remove the glue that squirted out from behind the pressed print.
Step 7: Allow time for glue to dry.
Step 8: Prepare Measuring cups.
Step 9: Prepare a Resin workspace.
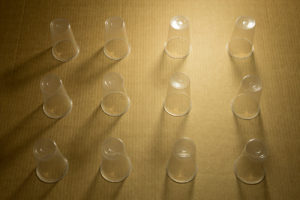 Find a draft-less, dust-free environment, with reasonable ventilation. Lay down a piece of cardboard, newspaper, or sheet of brown construction paper to catch all resin drips. There will be drips, and once it cures, it’s very difficult to remove!
Step 10: Prepare cork backing.
Step 11: Put tiles on stands.
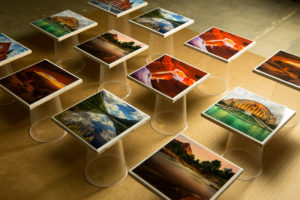 Once your glue has dried, your prints should be firmly in place. Be sure you didn’t skip step 2 and the scotch tape lining is still on the edges of the underside of the tiles! Move your tiles to the resin workspace, placing them centered, balanced, and level on the tops of the upside-down cups. Make sure you have enough space between tiles to work around the edges.
Step 12: Mix the ArtResin.
Step 13: Pour ArtResin mixture onto tiles.
Step 14: Spread the resin.
Step 15 A: Removing bubbles.
Step 15 B: Removing dust/lint/hair.
Step 16: Removing the resin drops on bottom of tiles.
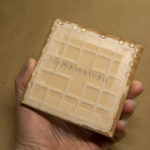 After at least 24 hours since mixing the resin/hardener, the coasters are cured enough to handle (though the ArtResin will take at least 72 hours to fully cure). At this time, carefully remove the scotch tape on the bottom of each tile. It’s easier to do this before they fully cure to make tape removal less difficult. Wearing a powder-free rubber/latex/vinyl glove on one hand will prevent fingerprints on the top portion. After removing the scotch tape, set the coasters back down on their cup pedestal and allow them to dry for a few more hours.
Step 17: Applying cork backing.
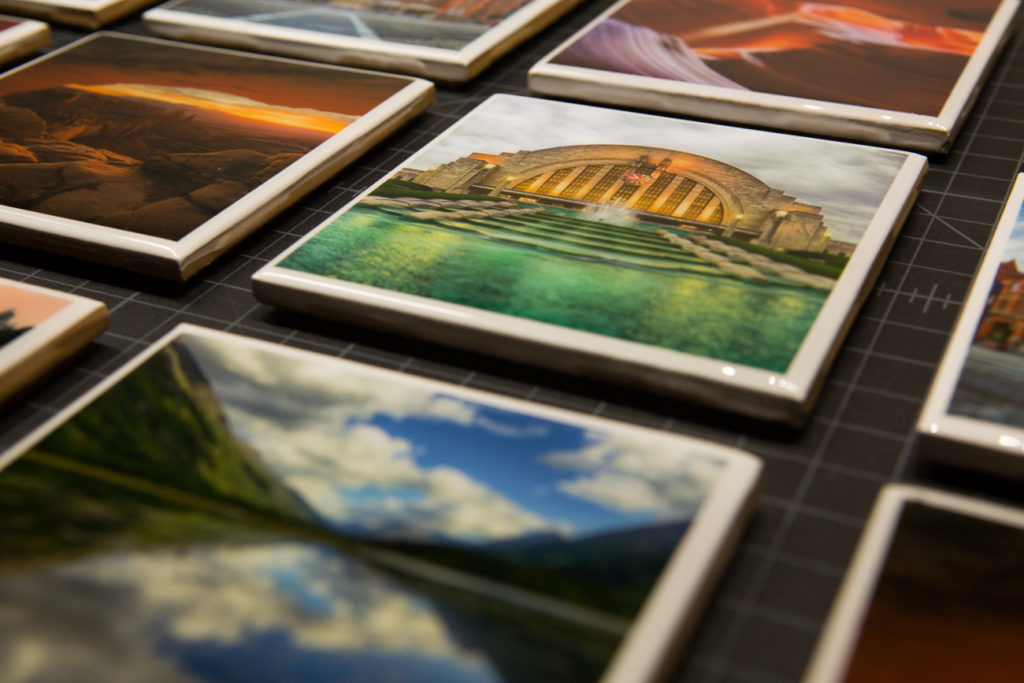
Enjoy your new coasters!
I hope you found this explanation of my process to be simple and helpful! Please let me know if you have any questions or comments (or suggestions!) about my process and I’ll be glad to help!Safety
- The all-purpose cleaner being used in this tutorial is non-toxic and derived from natural ingredients.
- Mod Podge is non-toxic, but has a distinct odor which can give headaches to someone who is sensitive to certain smells.
- ArtResin (unlike other epoxy resins) is No-VOC, no-fumes, non-toxic, food-safe and conforms to ASTM D4236 (safe for Home Use).
- The Loctite Go2Glue requires proper ventilation.
- Butane torches can cause severe burns and off-gas harmful chemicals.
Comments (20)
-
WOW! Wonderfully explained tutorial with step by step instructions and pictures. And good inside tips! I may even be capable of doing this. And my confidence is just from reading the How To. Just wait until I watch the video. Thanks Brian.
-
This is exactly what I have been looking for to bring in more photography product to my store. Thank you for the great video, and awesome written directions! As soon as more Michaels coupons come in, I will be there! Thanks!
-
Author
No problem – I hope it goes well! Let me know if you have any further questions!
-
What a great tutorial Brian thank you! I have a laser printer would that be an issue?
-
Author
It should be fine, though you may run into increased bubbling during the curing process depending on the paper you use. The resin may also ‘soak’ into a standard printing paper. I would try it and see what the results look like!
-
-
-
-
Hi! I have recently been making coasters just like these with photographs and other upcycled materials, and they make great gifts/products. I have run into a problem with glasses sticking to the coasters but not beer bottles, plastic cups, or ceramic products. The epoxy resin has been mixed well and is not tacky to the touch. Have you run into this problem when using your coasters and do you have any suggestions for how to solve it?
Thank you for any help you can provide.
-
Author
Occasionally, I run into the same situation with different types of glasses. I think it’s just condensation and a suction that is created on the bottom of the glass that causes it. I’m not sure if there is a good solution for it, unfortunately.
-
-
Such a wonderful share. diy resin epoxy
-
This gives such a clear explanation of using resin on tiles. I found it most helpful and informative. I have used low viscosity resin on ceramic tiles and while the cups do not stick to the tiles, they do leave rings which I can’t remove. Would using medium viscosity resin be more suitable for this purpose? I would be most grateful for any advice you can give me.
-
Author
I have not run into that issue. It may be that a medium viscosity resin is less runny and stays where intended. You may want to give it a try. I know Art Resin offers a small sample kit for sale for just that purpose. I hope it helps!
-
-
Hi Brian 🙂 First of all, I really wanted to say that I just love your tutorial. It’s clear, extremely informative and just delightful to read (and watch!). In my coaster making beginnings, I was coming back to it everyday and each time I was finding something new to focus on. It helped me a lot. Really, really well done. And now time for my question 🙂 I’ve been trying to create 200% perfect coasters for a quite a while now and unfortunately, I’ve never gotten to this point- either my coasters end with a tiny dusty piece in the resin, or there are some microbubbles in it. Just wanted to ask how do your coaster come up? Are they totally flawless or maybe you also get some tiny bubbles in them sometimes? I’ve never managed to create a coaster with not a single bubble in the resin, so I’m just curious about other people’s results 🙂 I also use ArtResin, just to tell.
-
Author
Hi Kasia, thanks for the kind words!
I’ll say it does take a lot of practice to get good at it… I have a few thousand under my belt at this point. When I first started I was consistently getting about 60% yield which left me with a lot of unsatisfactory and unusable coasters. At this point, I’m closer to 98% yield. With an occasional tile that just didn’t want to be, whether from a bubble or dust or hair.
A few tips I can suggest: Limit yourself to small batches. I still only make batches of 12 at a time. Try to reduce the glue along the edges of the print to be as minimal as possible – that is the biggest culprit for creating bubbles. Also, be diligent while the tiles are curing. It can require several hours of babysitting to make sure they are dust/bubble free. A small artist torch is very useful and you’ll get better at it with practice – it does take a certain gentle touch. And lastly, be considerate of the temperature, airflow and movement in the room you are curing in, just walking into the room, opening a door, or AC/Heat vent can kick up dust and other debris. Wearing a vapor mask, aside from the safety benefits, can help with directing and muffling airflow while you’re working.
I hope those tips help and let me know if you have any other questions! Happy coastering!
-
-
I have just started making coasters with my photos but I’m using wood instead of the ceramic tile. Do you think the tile has advantages over using wood? This is a great tutorial. One I plan to keep as my step by step. Thank you for taking the time to do this.
-
Author
Thanks, Jean! Experimenting with other materials can be a lot of fun! I would guess that the porous feature of wood may cause a lot of bubbles in the curing process. But it will likely depend on the type of wood, smoothness of the surface and possibly sealing of the wood with another method. Worth trying of course! Good luck and let me know the results!
-
-
Thank you for sharing your techniques.. I have made several coasters now, and they have cured 2 weeks or more…I still get a ring after setting the coffee on it…I am using envirotex resin. Do you think the art resin would be better..I hate making more if I cannot figure this out….Someone had suggested using a spray for engines.(high gloss) Have yu ever tried such a thing?
-
Author
I used Envirotex Resin before I switched to the ArtResin. I can’t guarantee you won’t also get rings with the ArtResin as it does depend on the curing conditions (temperature, etc) and quality of the mixing process, however, the coasters I made with the Envirotex have yellowed over about a year’s time, where the ArtResin is still crystal clear. My experience with rings is that they are usually fade or disappear after some time or can be wiped away since they can be caused by condensation. It may be worth getting trying the starter kit from ArtResin to see if it works better for you.
Engine spray sounds like a bad idea, particularly if these are for food/drink serving purposes. At the very least, the ArtResin is food grade safe.
-
-
Thank you for sharing this creative idea. I’ve tried to do pictures on wood and other surfaces in the past with only some success. I was missing the roller so I ended up having much more air bubbles than I should have.
-
Hi there! Absolutely love your tutorial and guide, this is how I learned how to make resin photo coasters!
I have one question – I’m running into an issue where the edges of my photos sometimes ‘lift up’ from the surface of the tile, and then they get ruined during the resin process, as resin leaks underneath and it sticks up.
Have you ever had to deal with photos not wanting to stick down properly? Any suggestions?
-
How helpful that you talk about how to cure your photo coasters! My husband and I have our anniversary this summer. I want to find a reputable Paris Texas coaster set for this actually.
-
Lobe this idea. I’ve been doing epoxy projects myself but nothing like this. I have to give it a try.
What kind of printer would you recommend? Or will a standard printer work with the photo paper?

